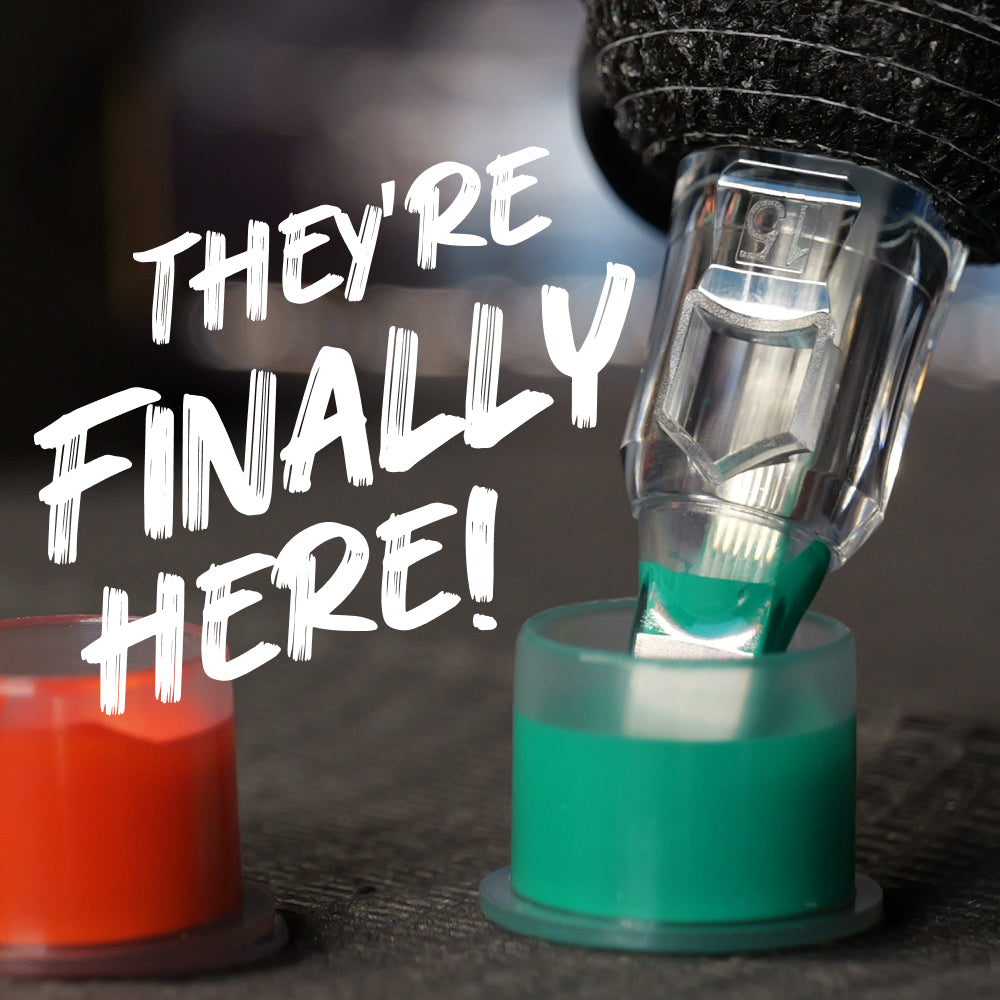
USA
USA
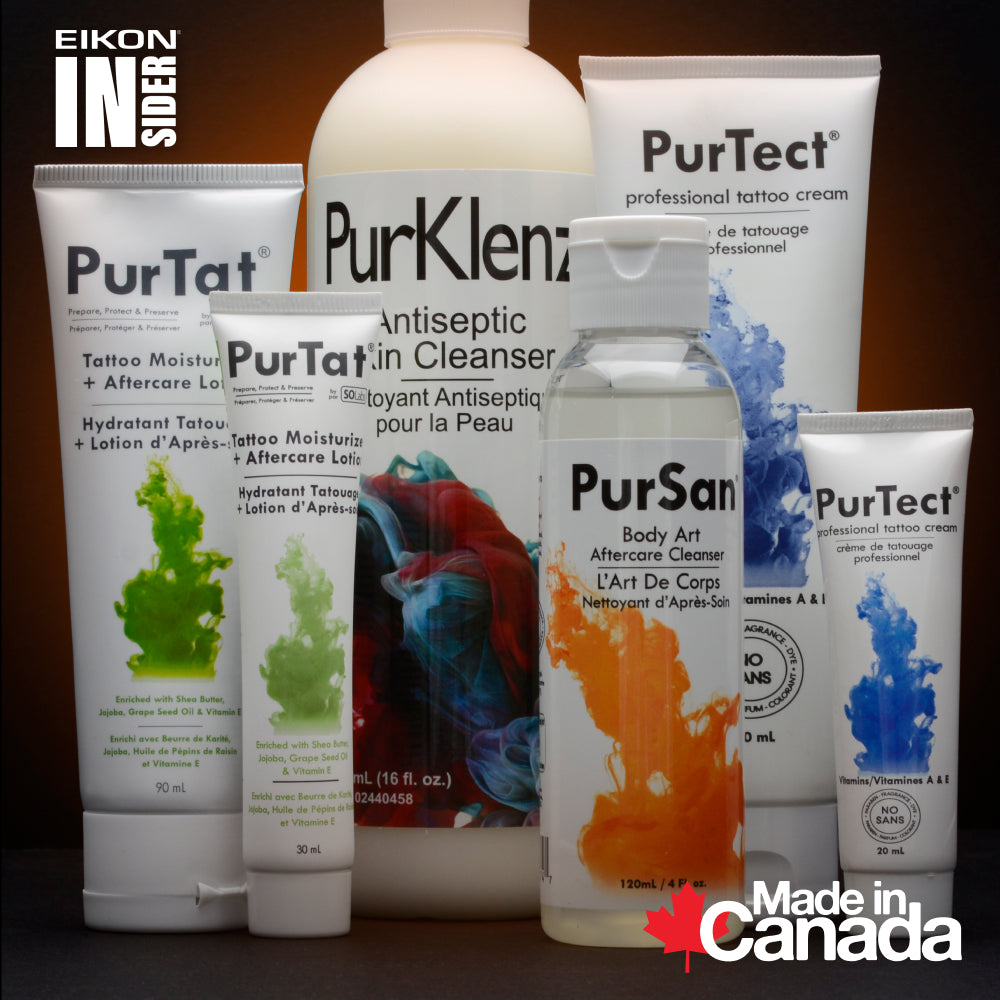
 Canada


Aftercare Pads
4837-LProduct Description
SAVE 13% When you buy 15 or more Packs!
Even the best tattoo can be ruined by poor aftercare. Help your clients protect their tattoo (your artwork) with Tattoo Armour. These aftercare pads were developed by tattoo artists frustrated with the lack of quality aftercare, and tired of doing preventable touch-ups.
Tattoo Armour aftercare pads help to reduce the risk of colour fade, and the need for touch-ups, by maintaining a healthy healing environment for freshly tattooed skin, and minimizing scabbing.
Tattoo Armour pads are so easy to apply, anyone can use them - Wrap your client up, and send the rest of the pack home with them to ensure a good heal from start to finish.
Sold in packs of 10 pads.
- Pad Size M (25x33cm)
- Pad Size L (32x40cm)
- Reduces scabbing
- UV Light protection
- Protects against bacteria, germs, and dirt
Keep scrolling to learn how to properly apply…
THE FUTURE OF AFTERCARE

BETTER HEALS LESS TOUCH-UPS
Reduce the risk of colour fade and the need for touch-ups after healing. The soft padding provides a more comfortable healing process overall and your clients will love you for it.
TATTOO ARMOUR pads are designed to absorb excess plasma while maintaining a healthy healing environment. They will also protect your new tattoo from harmful UV rays.
THE BEST TATTOO AFTERCARE POSSIBLE
Years of testing led to a product that provides optimal plasma absorption to prevent excessive drying, while allowing just enough plasma to remain on the skin to ensure optimal healing. The pattern on the pad is specifically designed to hold its form during the healing process.
NO GLUE, NO PAIN, NO HASSLE
Free of adhesives, the freshly tattooed area will heal more naturally allowing your client to feel comfortable without the worry of damage to the skin.
 For Artists…
Applying Tattoo Amour in The Shop
HOW TO TAKE CARE OF YOUR FRESH TATTOO…
(Provided by Tattoo Amour)
STEP 1 - CLEAN THE TATTOO
By this we mean clean the area of any excess plasma and blood. Use clean gloves when doing so. Remember that a fresh tattoo is an open wound, you definitely want to avoid any form of infection at all costs! Remember that bad healing is bad business.
STEP 2 - APPLY OINTMENT
Gently rub ointment on the skin. Apply just the amount your skin can actually absorb. If it’s a white mountain, then you’ve overdone it. Your tattoo artist will likely have a recommendation on which local products are the best for this. We on our end have had some positive experiences with products that contain panthenol.
STEP 3 - APPLY PAD TO TATTOOED AREA
Gently place the pads on the tattooed area. Make sure you cover the tattooed area properly and leave some extra padding between the tattooed area and healthy skin. This prevents any excess plasma and blood from oozing out.
STEP 4 - FIX PADS WITH TAPE
Any kind of tape will do. Just wrap it around the area nice and firm. The pad should be comfortably tight. Do not leave an air gap. In the event that you need to fix the tape on skin, then we recommend using special medical tape as it creates less irritation on the skin.
 For Tattoo Collectors
Applying Tattoo Armour At Home
HOW TO TAKE CARE OF YOUR TATTOO AT HOME…
STEP 5 - REMOVE PAD AFTER 6H
Keep your pad on for about 4 to 6 hours. Always go to bed with a clean pad - no need to wake up during the night. Removing the pad usually isn’t very painful. You’ll notice that the pad has absorbed all the extra pus in the shape of whatever image you now have on your skin.
STEP 6 - WASH TATTOO AREA
Regular soap and water will do nicely. Make sure to carefully wash your hands before washing your wound. Remember that a fresh tattoo is essentially an open wound - keep it clean!
STEP 7 - DRY WITH CLEAN PAPER
Regular, clean household paper will do. We recommend using a tapping motion and not a rubbing the skin as it irritates the surface area a lot less.
STEP 8 - OINTMENT AND PADS AGAIN
Add a small amount of ointment and then you already know the drill afterwards - repeat all the steps until the pad comes off clean. It’s recommended to keep using ointment for about 10 to 14 days. Just enough to keep the skin from getting dry. Always take care of your skin so your skin can take of you :)
YOU CAN CUT THE PADS
Please do not create a mosaic of tiny little pads. You can cut the pad once, otherwise they will not work as designed.
SLEEP WITH THE PADS ON
You do not need to wake up in the middle of the night to change your pads. Yes, it means your pads are on for a little longer, but due to the fact that you’re moving a lot less, then you’ll bleed a little less as well. So it all evens out. Sleeping with the pads on is definitely the most comfortable option available. Trust us, we’ve tried, many times.
 Don't take our word for it...
Tattoo Armour Video Library
Want to learn more? Check out the Tattoo Armour video library on their YouTube Channel for Artist testimonials, see the product in use and more.
THE FUTURE OF AFTERCARE
BETTER HEALS LESS TOUCH-UPS
BETTER HEALS LESS TOUCH-UPS
Reduce the risk of colour fade and the need for touch-ups after healing. The soft padding provides a more comfortable healing process overall and your clients will love you for it.
TATTOO ARMOUR pads are designed to absorb excess plasma while maintaining a healthy healing environment. They will also protect your new tattoo from harmful UV rays.
THE BEST TATTOO AFTERCARE POSSIBLE
Years of testing led to a product that provides optimal plasma absorption to prevent excessive drying, while allowing just enough plasma to remain on the skin to ensure optimal healing. The pattern on the pad is specifically designed to hold its form during the healing process.
NO GLUE, NO PAIN, NO HASSLE
Free of adhesives, the freshly tattooed area will heal more naturally allowing your client to feel comfortable without the worry of damage to the skin.
How to apply: in the shop
Applying Tattoo Amour in The Shop
HOW TO TAKE CARE OF YOUR FRESH TATTOO…
(Provided by Tattoo Amour)
STEP 1 - CLEAN THE TATTOO
By this we mean clean the area of any excess plasma and blood. Use clean gloves when doing so. Remember that a fresh tattoo is an open wound, you definitely want to avoid any form of infection at all costs! Remember that bad healing is bad business.
STEP 2 - APPLY OINTMENT
Gently rub ointment on the skin. Apply just the amount your skin can actually absorb. If it’s a white mountain, then you’ve overdone it. Your tattoo artist will likely have a recommendation on which local products are the best for this. We on our end have had some positive experiences with products that contain panthenol.
STEP 3 - APPLY PAD TO TATTOOED AREA
Gently place the pads on the tattooed area. Make sure you cover the tattooed area properly and leave some extra padding between the tattooed area and healthy skin. This prevents any excess plasma and blood from oozing out.
STEP 4 - FIX PADS WITH TAPE
Any kind of tape will do. Just wrap it around the area nice and firm. The pad should be comfortably tight. Do not leave an air gap. In the event that you need to fix the tape on skin, then we recommend using special medical tape as it creates less irritation on the skin.
How to apply: at Home
Applying Tattoo Armour At Home
HOW TO TAKE CARE OF YOUR TATTOO AT HOME…
STEP 5 - REMOVE PAD AFTER 6H
Keep your pad on for about 4 to 6 hours. Always go to bed with a clean pad - no need to wake up during the night. Removing the pad usually isn’t very painful. You’ll notice that the pad has absorbed all the extra pus in the shape of whatever image you now have on your skin.
STEP 6 - WASH TATTOO AREA
Regular soap and water will do nicely. Make sure to carefully wash your hands before washing your wound. Remember that a fresh tattoo is essentially an open wound - keep it clean!
STEP 7 - DRY WITH CLEAN PAPER
Regular, clean household paper will do. We recommend using a tapping motion and not a rubbing the skin as it irritates the surface area a lot less.
STEP 8 - OINTMENT AND PADS AGAIN
Add a small amount of ointment and then you already know the drill afterwards - repeat all the steps until the pad comes off clean. It’s recommended to keep using ointment for about 10 to 14 days. Just enough to keep the skin from getting dry. Always take care of your skin so your skin can take of you :)
YOU CAN CUT THE PADS
Please do not create a mosaic of tiny little pads. You can cut the pad once, otherwise they will not work as designed.
SLEEP WITH THE PADS ON
You do not need to wake up in the middle of the night to change your pads. Yes, it means your pads are on for a little longer, but due to the fact that you’re moving a lot less, then you’ll bleed a little less as well. So it all evens out. Sleeping with the pads on is definitely the most comfortable option available. Trust us, we’ve tried, many times.
Tattoo Armour Video Library
Tattoo Armour Video Library
Want to learn more? Check out the Tattoo Armour video library on their YouTube Channel for Artist testimonials, see the product in use and more.

About Tattoo Armour
THE FUTURE OF AFTERCARE: Experience safe and easy healing with TATTOO ARMOUR! Designed for ARTISTS BY ARTISTS, give your clients a comfortable way to heal without any mess or adhesives!